
Are you searching about Guide to Installing a Range Hood? Installing a range hood is an important aspect of setting up a functional kitchen. Range hoods are indispensable appliances that effectively remove airborne grease, smoke, odors, and heat generated during cooking. While it is common for professionals to handle the installation of large appliances, it is also feasible to install a range hood on your own with the appropriate tools. This guide will outline the essential steps to successfully install a range hood in your kitchen.
Guide to Installing a Range Hood
Essential Concepts to understand before Range Hood Installation
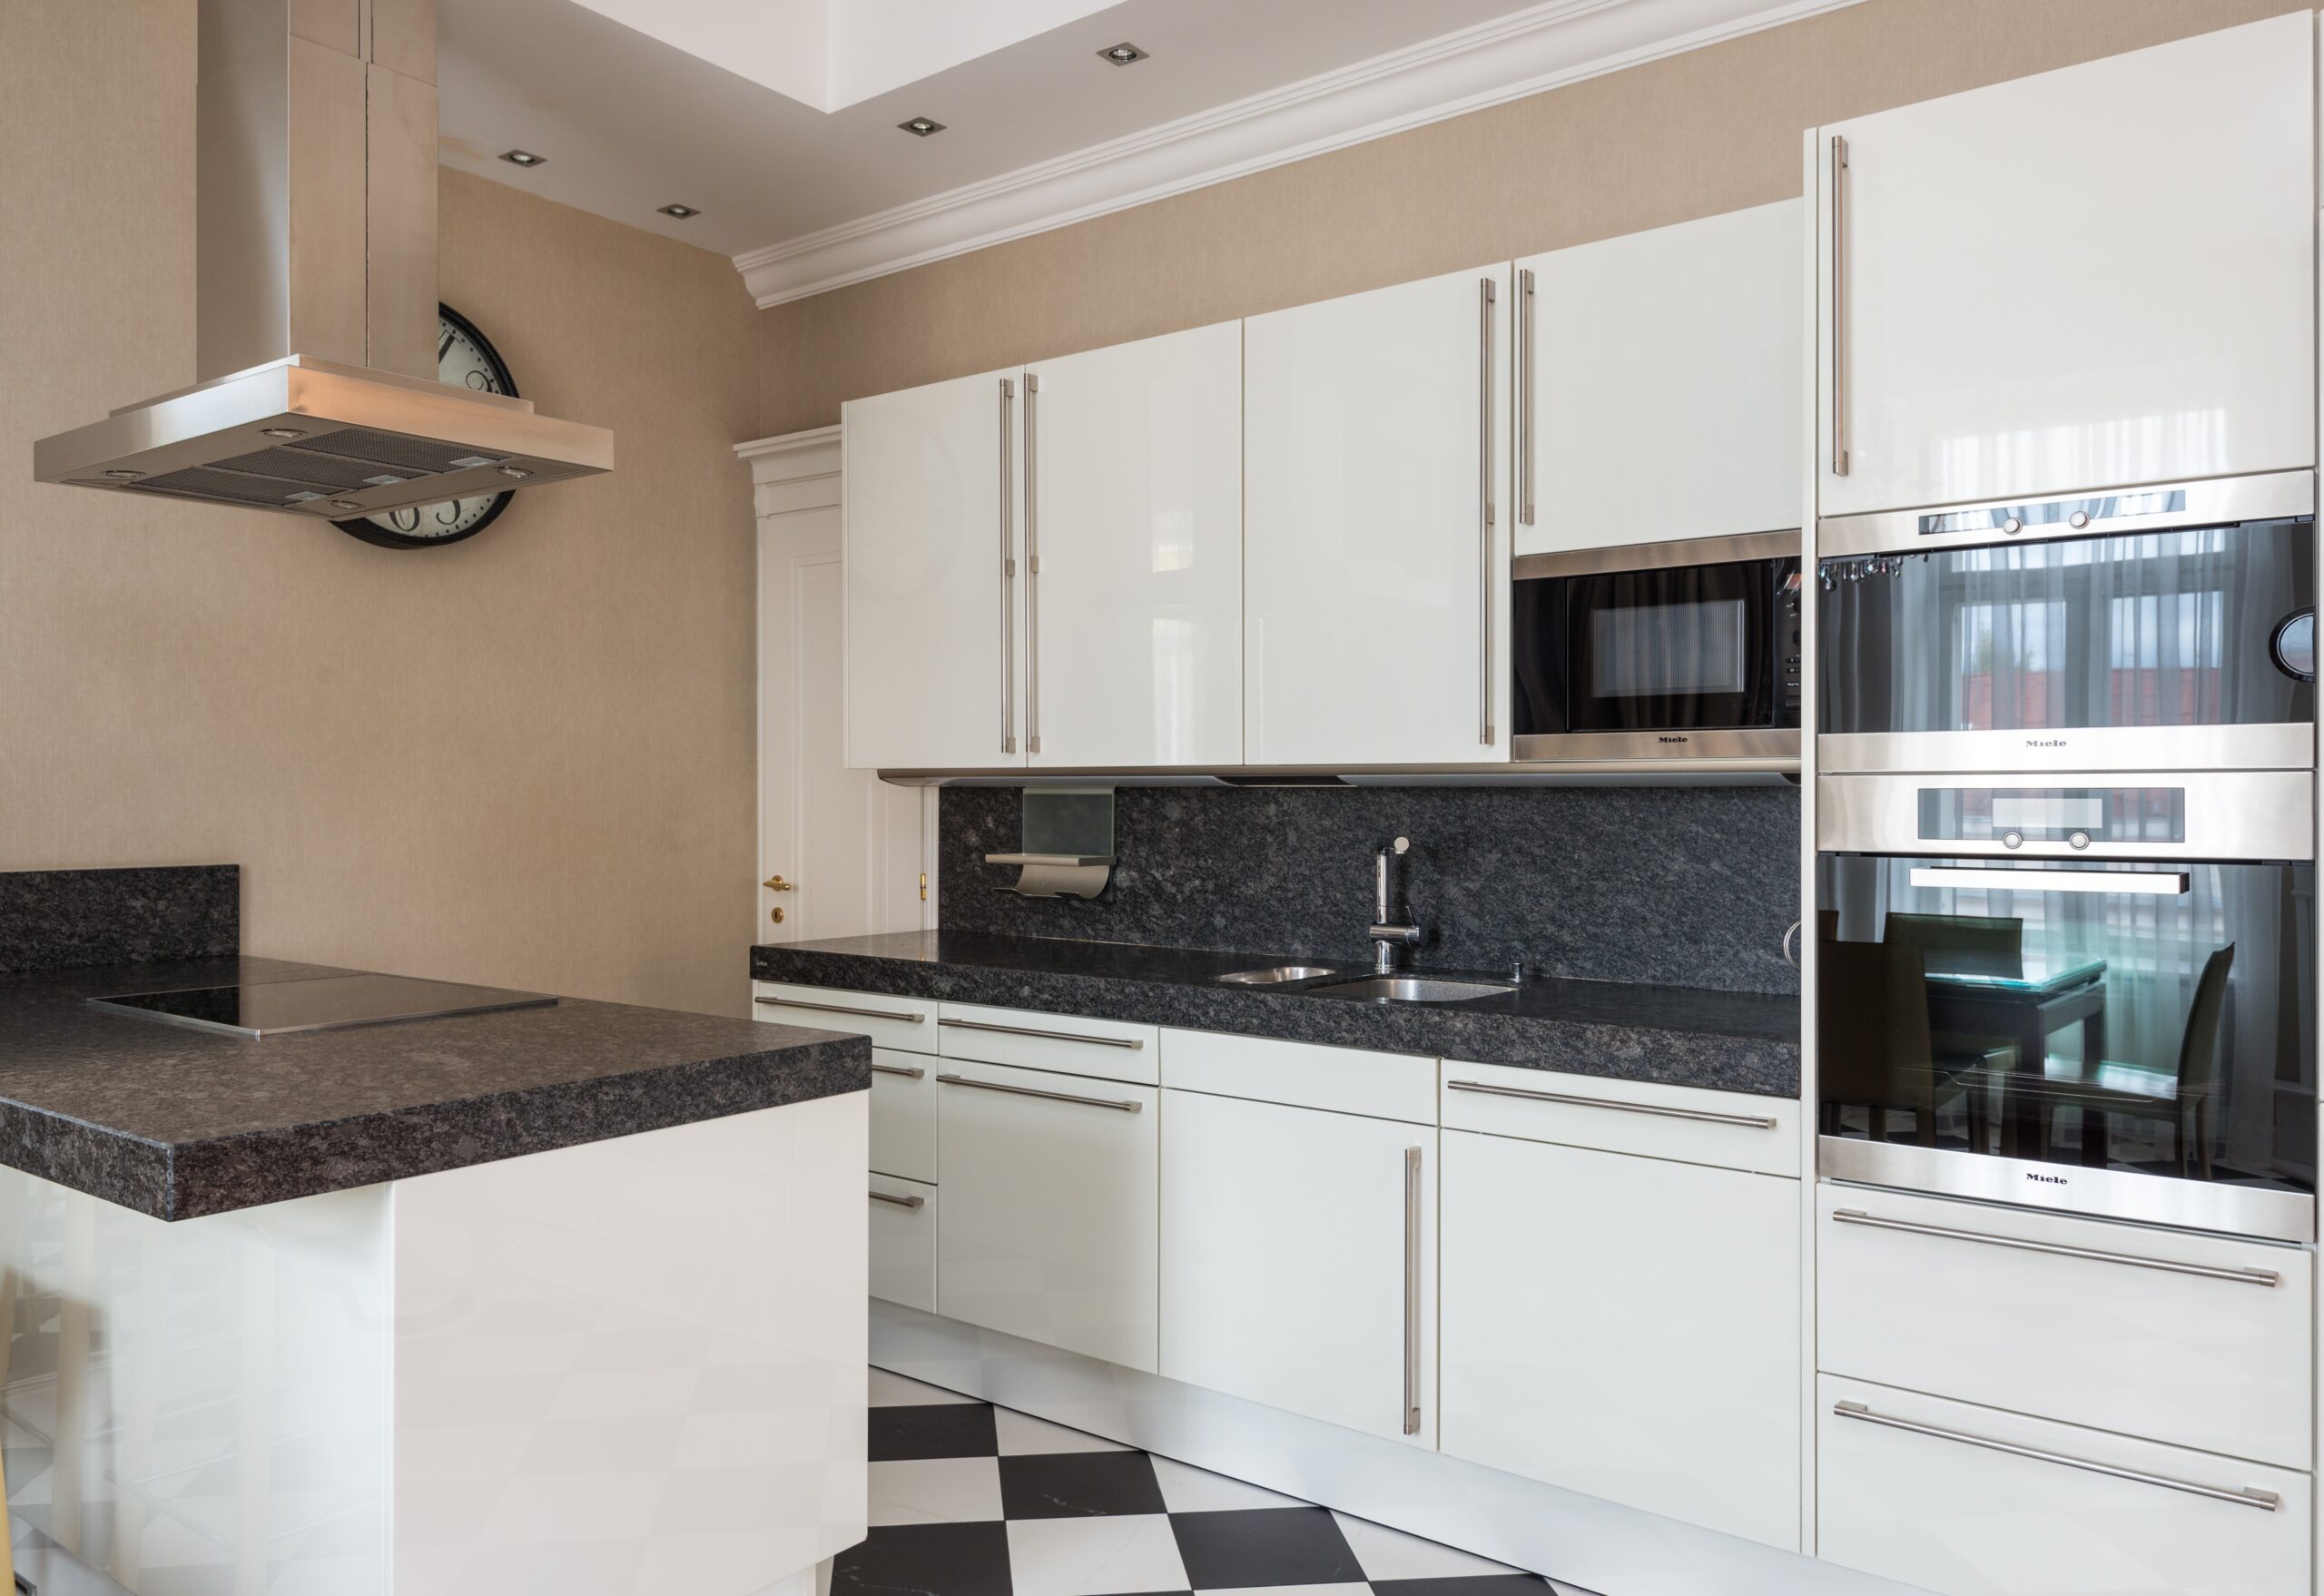
Before you begin installing range hoods, it’s important to understand the basics. Range hoods are positioned above cooktops or stoves in the kitchen and are designed to collect and remove smoke, steam, odors, and grease. They typically have a large downward-facing hood and a multi-speed fan that forces the air out of the house through an aluminum filter. The ductwork for range hoods can run out of the side of the house or upwards through the roof.
If you’re a handy DIYer, replacing an existing range hood with a newer model is relatively straightforward. However, if you’re changing the location of the range hood during a kitchen renovation or installing one for the first time, you’ll need to make some accommodations. It’s essential to consider whether you want a ductless or ducted range hood.
Ductless range hoods operate differently from ducted ones as they don’t expel air outside but instead circulate it through a charcoal filter to capture grease and certain odors. While they are generally less efficient than ducted range hoods, they offer a more affordable option, with prices ranging from as low as $50 to several hundred dollars.
On the other hand, ducted range hoods are more efficient in venting cooking air outside the home through a wall vent or upwards through the ceiling joists and roof. Prices for ducted range hoods vary widely, starting from under $100 and going up to over $1,000 for high-efficiency or designer models. It’s important to select a range hood that suits your ventilation needs.
If you’re considering a microwave-hood combination, be sure to prioritize the unit’s ventilation capabilities rather than just its additional features. Pay attention to where the fan motor is located as it can affect the noise level during operation. Remote blowers can provide a quieter cooking experience as the fan is placed farther away from the range.
When it comes to size, range hoods should match the width of your range. They are available in various widths ranging from 24 inches to 60 inches, with wider options for custom kitchen designs. Configuration-wise, if you’re installing a microwave-hood combination, ensure that there is at least a 30-inch distance between the bottom of the cabinet above the range and the cooking surface to accommodate the installation.
Range hood installation: complete guidance
To install a range hood, you will need the following materials and tools:
Materials:
- Range hood
- Round duct (7-inch diameter)
- Aluminum foil tape
- Duct wall or roof cap
Tools:
- Screwdriver set
- Wire stripper
- Hammer
- Reciprocating saw
- Hammer drill
- Hole saw bit
- Long masonry bit
- Nail-punch set
- Drill
- Drill Bits
- Caulk Gun
- Tape measure
Steps to install a range hood
Step 01: Removing the Old Range Hood (if Applicable)
Before installing a new range hood, it’s important to remove the old one. This process begins by turning off the power to the range hood to ensure safety. Next, disconnect the wiring by unscrewing the wire nuts and detaching the wires connected to the hood. If there are lights and a fan, make sure to disconnect their wiring as well. Given that range hoods can be heavy, it’s advisable to have a second person assist you. They can support the weight of the hood while you work on removing it. Use a screwdriver to loosen the mounting screws or bolts that secure the range hood to the wall. While ensuring you have a hold on the equipment, carefully remove the screws.
Assisted by a second person, loosen the support screws while they bear the weight of the range hood. After removing the screws, cautiously lift the old range hood off the fasteners and place it aside. It is recommended to relocate the old range hood to an outdoor area, shed, or garage to ensure it doesn’t hinder the installation process.
During the removal process, chips of paint, grease, and rust might fall onto the stovetop, creating a mess. To minimize cleanup later, stretch out the painter’s plastic or cloth over the surface while working. If necessary, take the opportunity to clean the area around the old hood before proceeding with the installation of the new range hood.
Step 02: Removing Knockouts, Marking Vent Holes, and Disassembling the Range Hood
To remove the knockouts and mark the vent holes for your range hood, start by removing the metal knockouts for electrical cables and ducts using a hammer and screwdriver. Then, position the hood against the wall and mark the desired vent hole locations. If there’s no template provided, consider having someone hold the hood while you make the markings. Additionally, disassemble the cover, fan, and filter underneath by removing the filters with a screwdriver, followed by unscrewing the bottom panels and the duct connector. The final step is to remove the perforated duct knockout at the back of the hood using a slotted screwdriver and a hammer. Take caution to avoid damaging the surrounding metal. It is essential to handle the knockouts with care and allocate sufficient time to accurately mark the vent hole locations, ensuring a successful installation.
Preparing the Vent for Installation on Vented Hoods
Prepare the vent for installation on vented hoods by measuring the new range hood and marking its position on the wall. Before cutting the vent hole, make a small hole to check for any obstructions like plumbing or wiring. Ensure the wall has direct access to the outside. Finally, use the provided template or instructions to mark the spot for the vent cutout on the wall or cabinet. By following these steps, you can accurately prepare the vent for installation.
Step 03: Creating the Vent Hole for Your Range Hood
Create a vent hole in the wall to install a range hood with proper ventilation. Drill with a hole saw bit or use a reciprocating saw to open the space for the electrical cable and vent. Check for obstacles like studs, pipes, or wires along the ductwork path and adjust as needed. Drill locator holes on the exterior wall to outline the vent hole, connecting them for siding or lining a brick exterior. Inside, use a drill or wallboard saw to make a hole in the drywall, ensuring no obstructions. Consider slightly enlarging the hole for easier access and cable management. This step ensures a suitable vent opening for successful range hood installation. Attach the vent cap into the exterior opening, making sure that it’s long enough to reach the range hood. Attach with screws and use the caulk gun and weatherproof caulking compound to get a tight seal.
Step 04: Connecting Electrical Wiring
To connect the electrical wiring for the range hood, ensure that enough conduit and wiring is extending enough conduit and wiring is extending there is enough conduit and wiring extending from the breaker to the electrical terminal box of the hood. If needed, drill holes on the sides of the vent to facilitate running the wiring from the hood to the electrical box. It’s important to comply with electrical code requirements when performing this task. If you lack confidence or expertise in electrical work, it is recommended to consult with a professional electrician for assistance.
Step 04: Installing the range hood
When installing a range hood, start by marking the screw and cable holes. Drill the mounting brackets or screws into the wall or cabinetry, adjusting the depth accordingly. For tiled walls, create guide holes with a nail set to prevent tile damage. Check the alignment of the vent with the ductwork and adjust as needed. Connect the wires by running the cable through the hood’s hole and attaching the black and white wires. Secure the grounding wire and, if applicable, install an electric plug. Reattach filters and grease guards, tighten the hood cover and test the fan and light. Mount the hood with a second person’s help, fully tightening screws for wall mounting or sinking them halfway for existing cabinetry. Exercise caution when drilling into tiled walls.
Step 05: Complete the electrical wiring
After installing the range hood, run the necessary wires. Connect the range hood’s wires according to the manufacturer’s instructions. Install a cable from a nearby receptacle or junction box to the hood. Strip the wire sheathing and connect the wires to the range hood using wire connectors, matching the colors correctly. Confirm the wiring configuration in the manufacturer’s instructions. If unsure, consult an electrician. Finally, reattach the filters and grease guards, replace the hood cover, and clip any excess wiring.
Step 06: Range Hood Testing and Vent Cover Installation
After securely connecting the electrical wiring and replacing the electrical cover, attach filters and grease guard. Turn on the power and test the light and fan functions. Check the duct outside for proper ventilation. If everything works correctly, proceed to install the vent covers according to the owner’s manual. Remember to exercise caution with electrical connections and consult professionals if needed.
Conclusion
Afte reading the Guide to Installing a Range Hood the conclusion, installing a range hood is a worthwhile investment for a kitchen upgrade. It provides benefits such as cleaner air, effective smoke and grease removal, and a more enjoyable cooking experience. While DIY installation is possible for ductless range hoods, it’s important to recognize the complexities involved in installing a ducted system. Hiring a professional ensures proper ventilation and prevents potential problems. Consider your options carefully to ensure a successful range hood installation that enhances your kitchen environment.


1 thought on “Comprehensive Guide to Installing a Range Hood: Step-by-Step Instructions 2023”